On August 30th, 2019, Steamforged released a blog which contained that they were releasing a new Game Plan Deck, something that the community had been quite vocal about for a while now. The release date for the new Game Plan Deck is set on the 29th of November, and players can already pre-order the deck on the Steamforged Store.
PART 1 – SUMMARY
I was very happy with the first half of the deck. It’s a definite upgrade to the current Deck in a way that most cards now fit their brief, or at least come close to it, giving the player an actual choice between wanting to go first or choosing a strong effect to make up for losing first activation later in the turn. There is loads of interactivity, and some of the cards actually reward thinking ahead, of which we now really only had Seize the Initiative.
In this second part, we will look at the +6, +4 and +1 cards of the Game Plan Deck.
SEASON 4 GAME PLAN DECK – REVIEW — PART 2
First off, we’ll look at the +6 Initiative cards. One of them was already spoiled at the NOVA keynote, so should already be known to many.
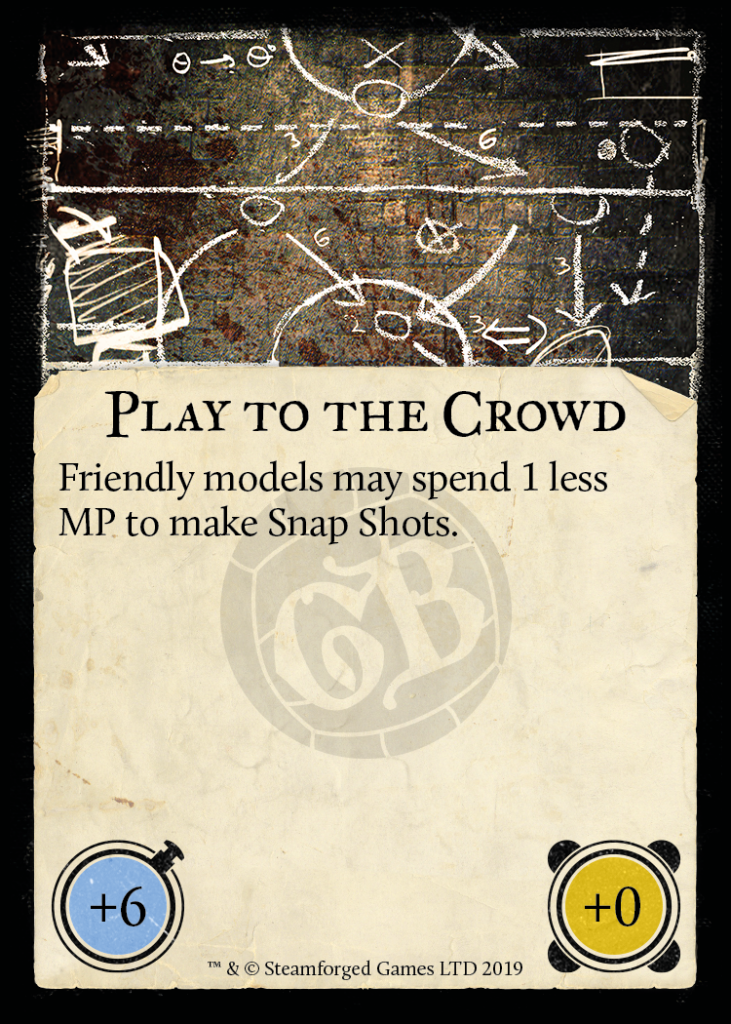
Play to the Crowd, or how I like to call it, the Conor Card, basically gives you the ability to Snap Shot for only 1 momentum. This means that if you do you momentum maths wrong and end up with no momentum to bonus time your Snap Shot up to two dice, this card will bail you out! Most people will just play this for the +6, though. I feel that this will be one of the most prized cards of the Deck, as the Initiative value is high and there is no real downside for playing it.
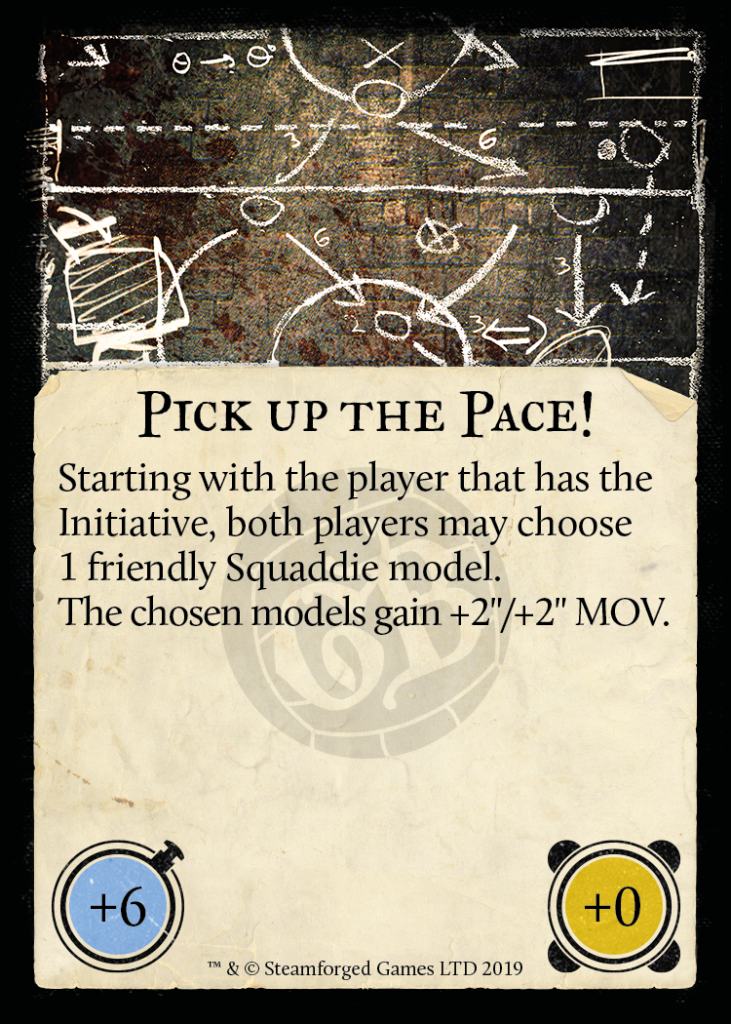
Pick Up the Pace! was already shown at NOVA. Steamforged’s main focus for this Game Plan Deck was interactivity between players, and this again is such a card. I feel that this card fits the brief perfectly. Sure, you’ll be able to go first and have someone go faster, but maybe you opponent now has a 9″/11″ MOV Vitriol or Veteran Minx, which you’ll have to deal with.
Now we arrive at the +4 Initiative cards, of which there are five.
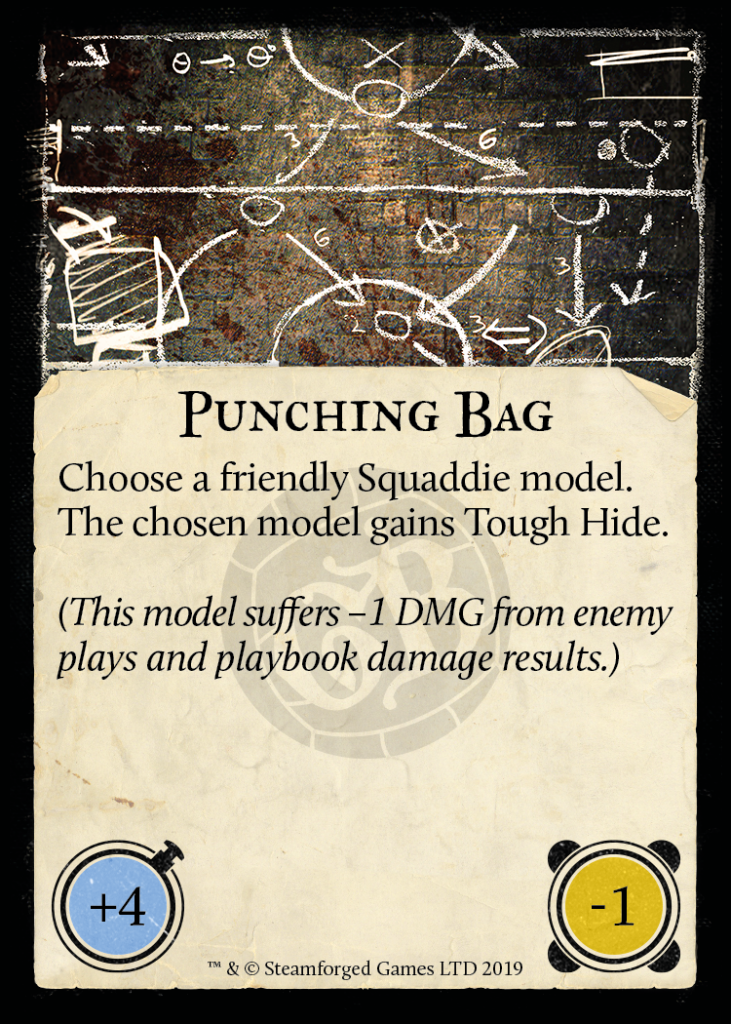
Punching Bag gives a Squaddie Tough Hide at the cost of -1 Influence for the turn. I’d say that’s a decent trade-off, as there are certain models that will turn into a nightmare to take down, but not that many. Ever thought of Resilience / Tough Hide Knuckles, though? Fear / Rising Anger / Tough Hide Ghast? Poised / Gladiator / Tough Hide Azimuth? When played correctly, it can save your models from certain take-outs.
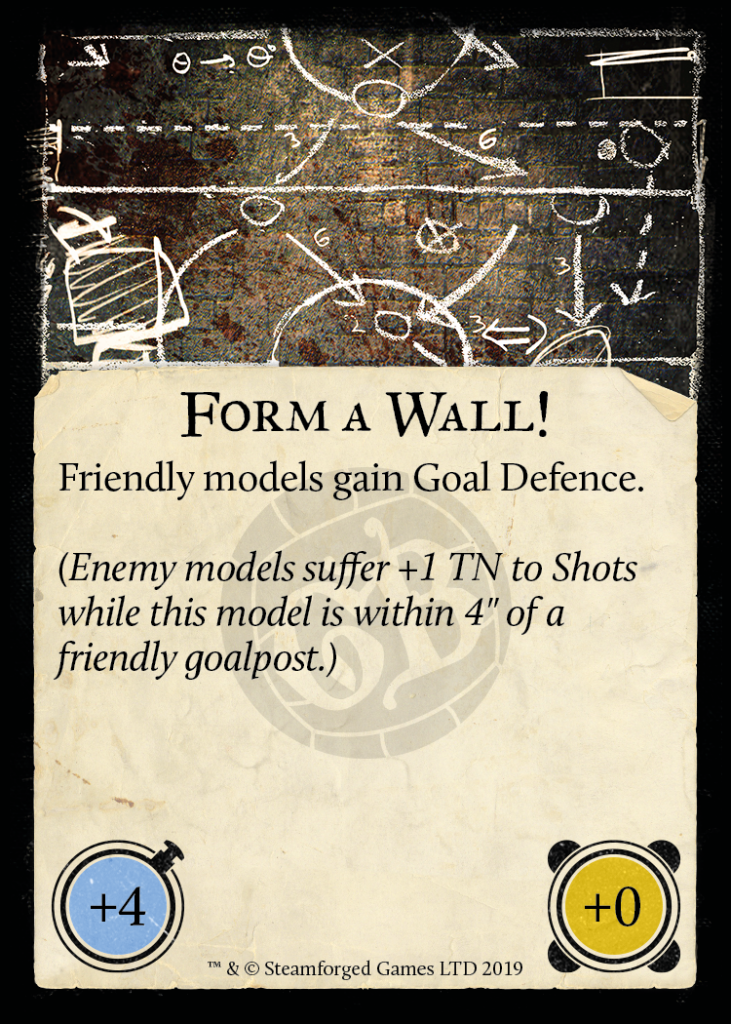
Form a Wall! basically has the same feel as Play to the Crowd. A vanilla +4 card with a niche buff to your models. Again one of the more prized cards, I feel, as it’s just a buff on a reasonably high Initiative card.
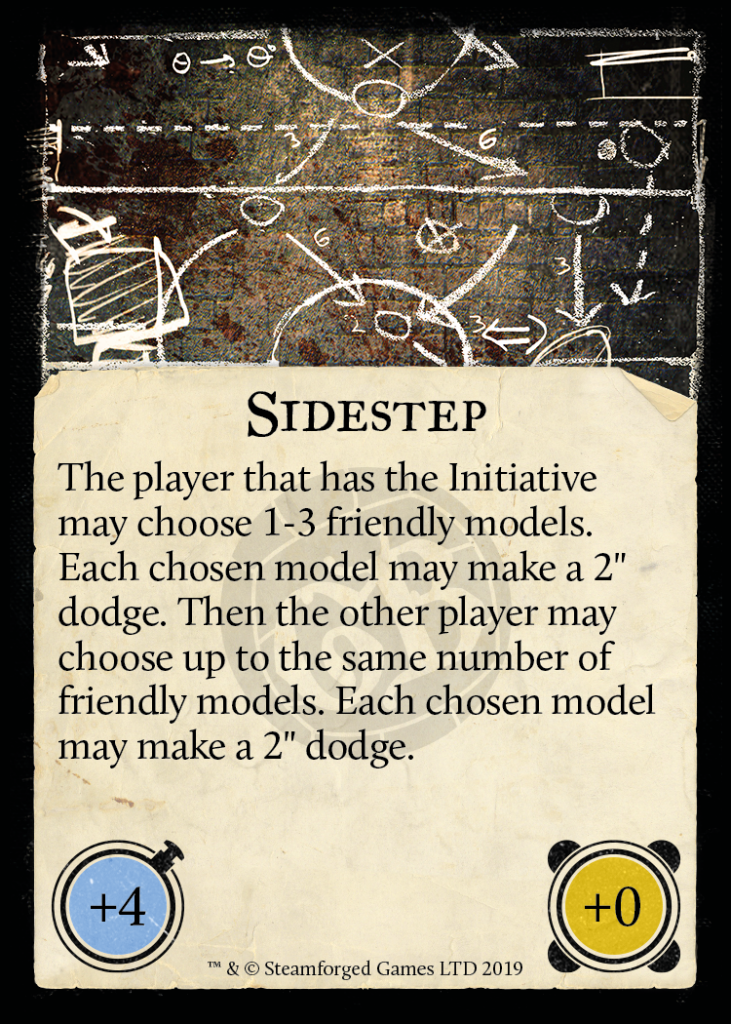
Sidestep is a VERY interesting card, to say the least. You are able to dodge up to three models for 2″, but your opponent will be able to dodge the same amount of models for that same distance. A more experienced player might have already thought about dodging some models around, and then pass the clock over to his opponent – here, have fun. So there’s a certain clock element here as well. To me, this card screams “veteran players are going to love this“. I’m not entirely sure yet how I feel about this card. I’ll have to playtest to have a clear opinion on it.
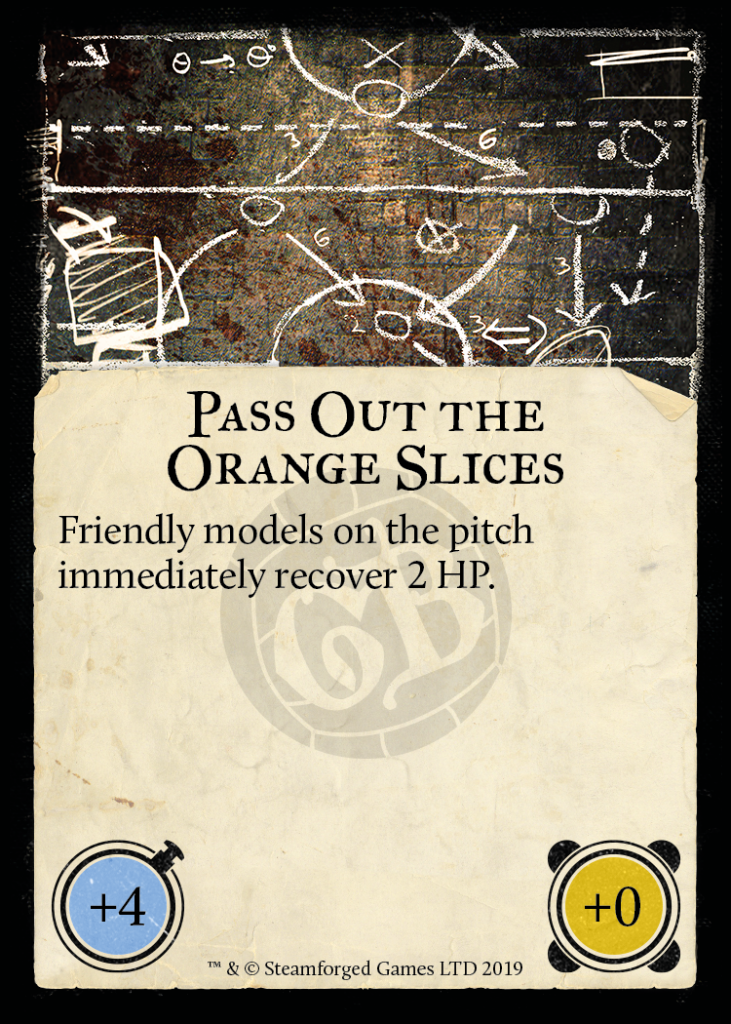
Pass Out the Orange Slices is a nice reference towards League of Legends’ Gangplank character, who heals himself after eating an orange. This card is a definite counter to the condition attrition game, i.e. Smoke and Steeljaw. Other than that, it’s a decent card to have against any beater squad, as it’ll at least cause your opponent to spend an additional influence to take someone out, slowing down his VP tempo and allowing you to catch up.
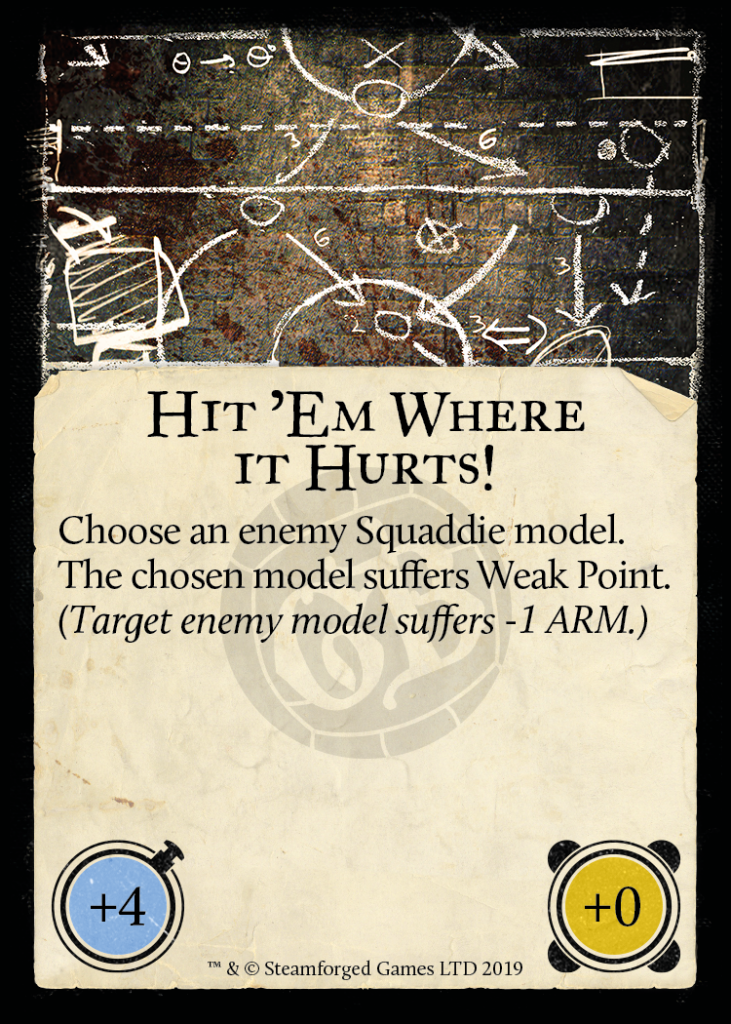
Hit ‘Em Where it Hurts! has the same design as Form a Wall! and Play to the Crowd – a niche (de)buff on an otherwise reasonably high Initiative card. With this card, you’ll be able to remove a point of ARM from an enemy Squaddie model; a non-factor in certain match-ups, a total game-changer in others.
Last, but certainly not least, the +1 Initiative cards.
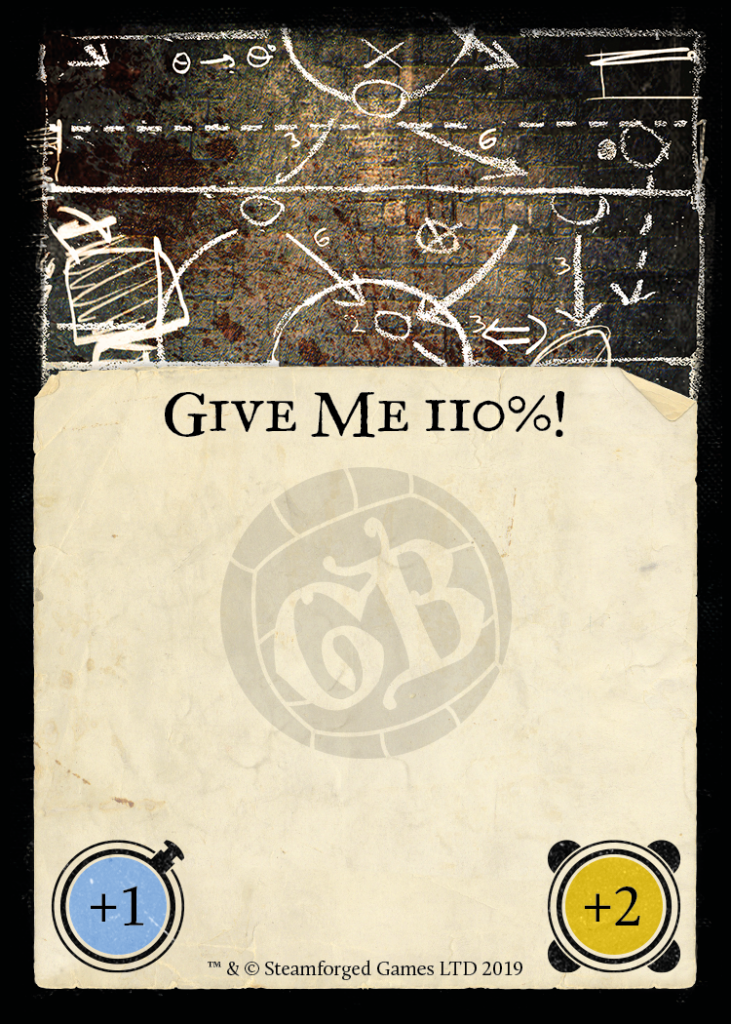
Give Me 110% has no text on the card, which might seem odd, but the actual effect is the Influence modifier of +2 – the same effect as scoring two goals. Fairly strong, if you know how to spend it correctly.
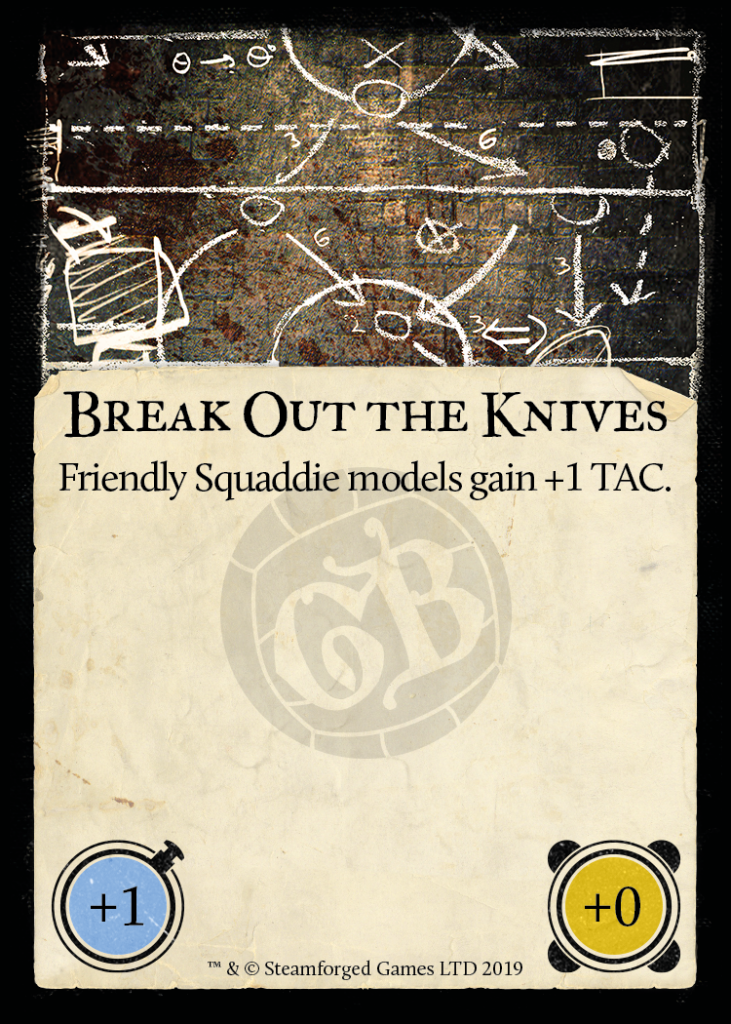
Break Out The Knives is basically Rivet’s TAC bonus trait on a stick. My first reaction to this card was “Oh no, what have you done…”. I can already see the Oprah meme… “And you get Follow My Lead! And you get Follow My Lead! And you get Follow My Lead!”. Just think of what will happen when this card is played by squads like the Brewers, Navigators, Blacksmiths, Rivet Engineers, Mourn Morticians, etc.
Before I go on to my review of the second half of the Game Plan Deck, I’d like to talk about these +1 cards, as I feel that there’s a problem here, that I’d like to address. Usually, when you feel like you can’t keep up with the opposing Guild’s momentum generation, you’d just dump your momentum into healing and condition removal and get ready for the next turn. But because of the increased strength of these +1 cards, this might not be a viable option anymore. There are certain teams that farm mountains of momentum on a dime (i.e. Butchers, Union, Brewers), and if you spend your own momentum and the opponent gets a +7 momentum advantage, he’ll be able to play one of these cards and get the first activation, which could just be game deciding right then and there. Does anyone else feel the same?
VERDICT – PART 2
While I am totally fine with the +7 to the +2 cards, and actually think they’re great and at the very least a clear upgrade to the current Deck, I’m not so sure about the +1 cards. The clear jump in effect strength between the +2 and +1 cards feels immense, especially Break Out the Knives.
If I’d had to score the deck, I’d end up on a solid 8.6, with 14/18 cards that I’m totally fine with, 3 cards that I’d like to see get some further playtesting and 1 card that I think is actually not okay for certain situations.
Well done, Steamforged. Well done indeed.
